
Las organizaciones públicas y privadas compiten bajo unas reglas del juego externamente establecidas, tratando de aumentar la eficiencia y la calidad...
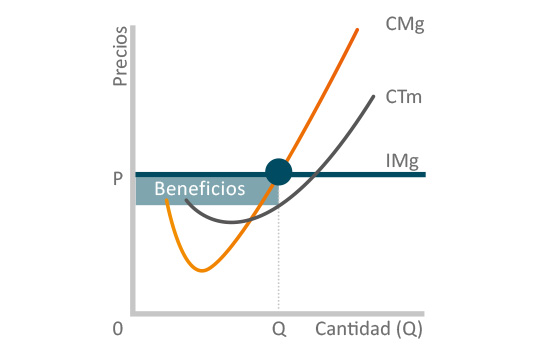
Eficiencia: maximización de ingresos y optimización de gastos
Calidad: satisfacción rentable del cliente
... pero hay momentos en la historia que sacuden los cimientos del statu quo económico, social y tecnológico.
SON REVOLUCIONES
SIGLO XIX
Primera Revolución Industrial
La máquina de vapor

SIGLO XX
Segunda Revolución Industrial
Las nuevas fuentes de energía y el desarrollo del capitalismo

SIGLO XXI
Tercera Revolución Industrial
Internet y las fuentes de energía renovables

Hoy, esas reglas del juego son líquidas.
Lo que ha servido muchos años desaparece o es reemplazado por otras normas, más fugaces pero igual de exigentes.
Empoderamiento del consumidor
La democratización de las nuevas formas de comunicación: smartphones, wearables, redes sociales, etc., ha permitido a los consumidores tomar las riendas en la decisión de compra.
La transparencia, el servicio y la personalización son los factores clave.
Internet de valor
El blockchain genera un nuevo paradigma de confianza y relación entre las partes.
El capitalismo se reinventa.
Es momento de la desintermediación
sin valor, del control de la privacidad y la transparencia.
Inteligencia Artificial
El dato convierten a máquinas y organizaciones en inteligentes gracias a las nuevas fuentes de información (IoT) y a una capacidad de análisis nunca antes vista.
Los paradigmas de la desintermediación humana se expanden exponencialmente.
En Versia, nuestro compromiso es ayudar a nuestros clientes a ganar competitividad en un juego de reglas líquidas.
Desde nuestro origen hasta hoy, hemos cumplido esa misión.
Somos parte de la historia de la digitalización y trabajamos día a día construyendo su futuro
![]()
Digital
La velocidad a la que las empresas se transforman es la clave de su supervivencia.
La digitalización comienza en el core de las organizaciones, en sus clientes y afecta a todos sus estratos: estratégico, de negocio y operativo.
Los servicios de transformación digital de Versia están orientados en la obtención de retornos tangibles en el proceso de trasformación hacia la gestión customer digital centric.
Innovación
En Versia sentimos ansiedad por la innovación.
Entendemos las tecnologías emergentes como una fuente de crecimiento y diferenciación sobre la que pivotar la estrategia de las organizaciones.
En un entorno donde los cambios se suceden con rapidez y la tecnología rompe continuamente sectores y mercados, la aplicación de la innovación representa una oportunidad para las organizaciones que buscan ser tractoras del cambio y llegar primero.
Tecnología
Versia trabaja con vocación de prestar servicios globales e integrales en el ámbito de las Tecnologías de la Información.
Siempre hemos tenido en nuestro ADN que dichos servicios son una palanca clave para la aportación de valor y la tracción del cambio que requieren las organizaciones actuales, en el cumplimiento de sus objetivos.
28 años de experiencia nos avalan.
Quieres unirte a Versia
¿Eres titulado en ingeniería? ¿te apasiona la tecnología? ¿buscas una empresa joven y dinámica donde desarrollar tu carrera profesional? ¿te sientes identificado con nuestros valores?
Versia lo formamos un equipo de más de 750 profesionales comprometidos con trasladar la tecnología y la innovación a la sociedad.
Si quieres saber más accede a nuestra sección de empleo.